
For sellers · Products
Listing a product
Open your menu
From your dashboard, go to Menu. This is where all your sections and listings live. If you're starting fresh it will be empty.
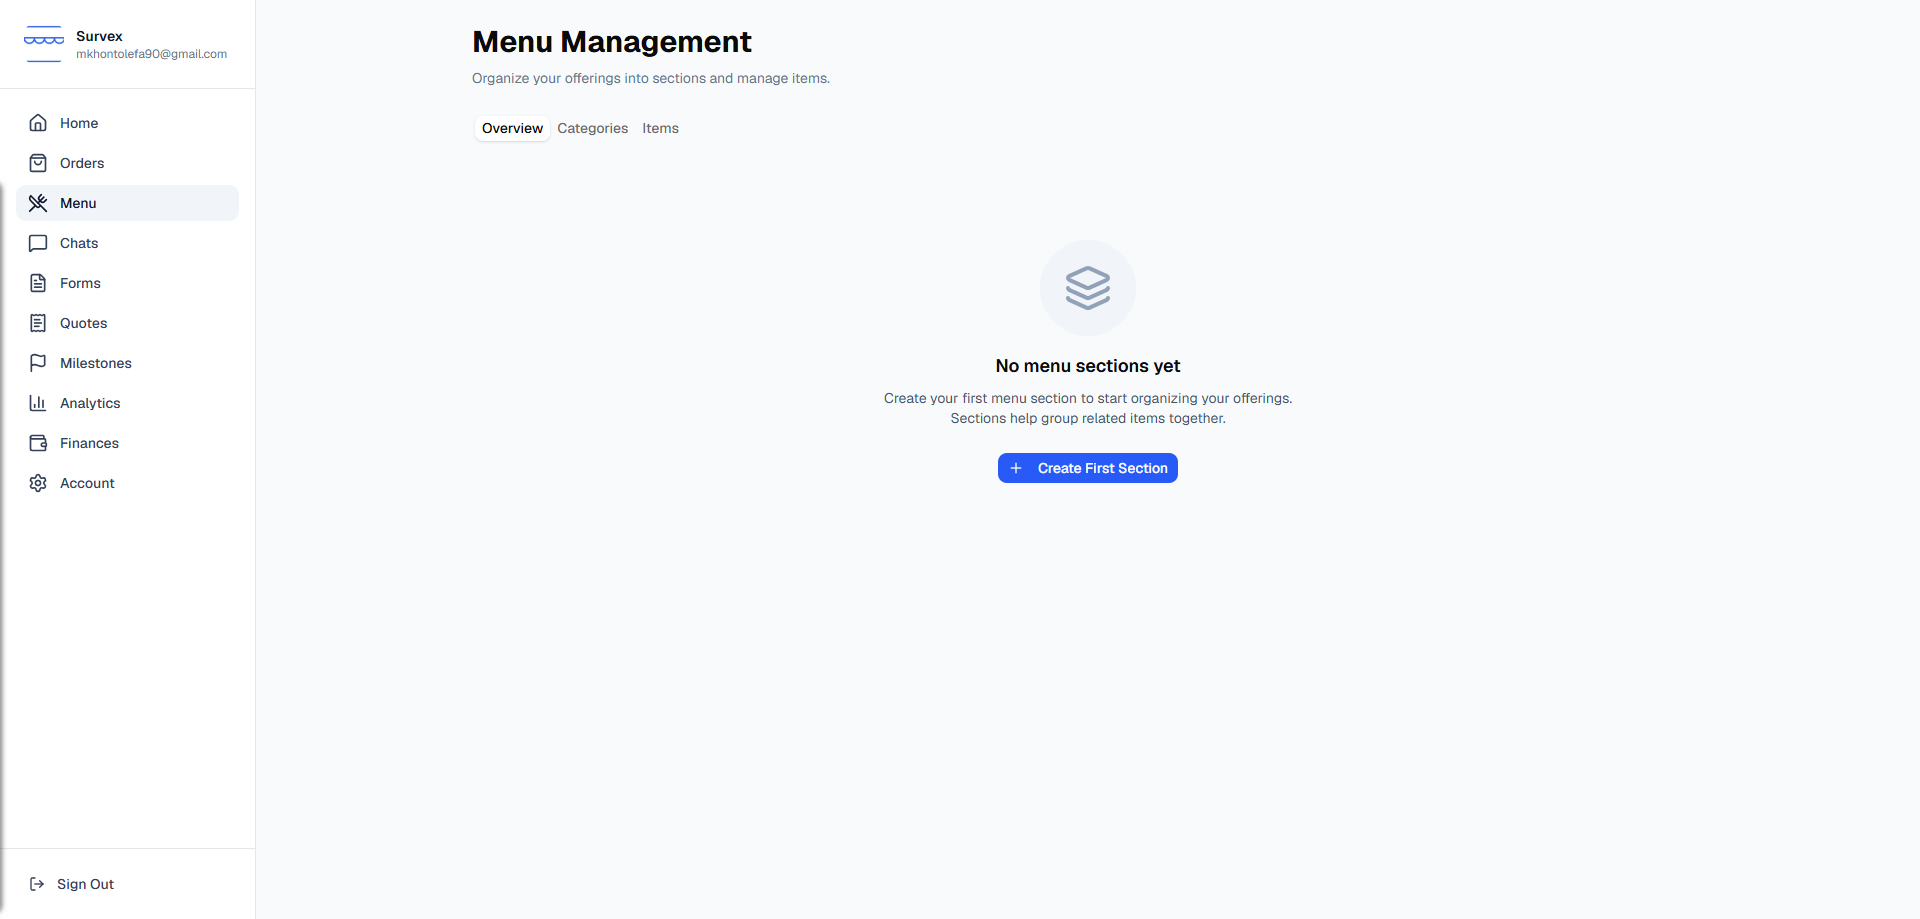
The Menu page before any sections have been added. Create a product section
Tap Add section and choose Productas the type. Give it a name that describes the category — for example “Skincare” or “Candles”. The section name shows on your storefront so buyers can browse by category.
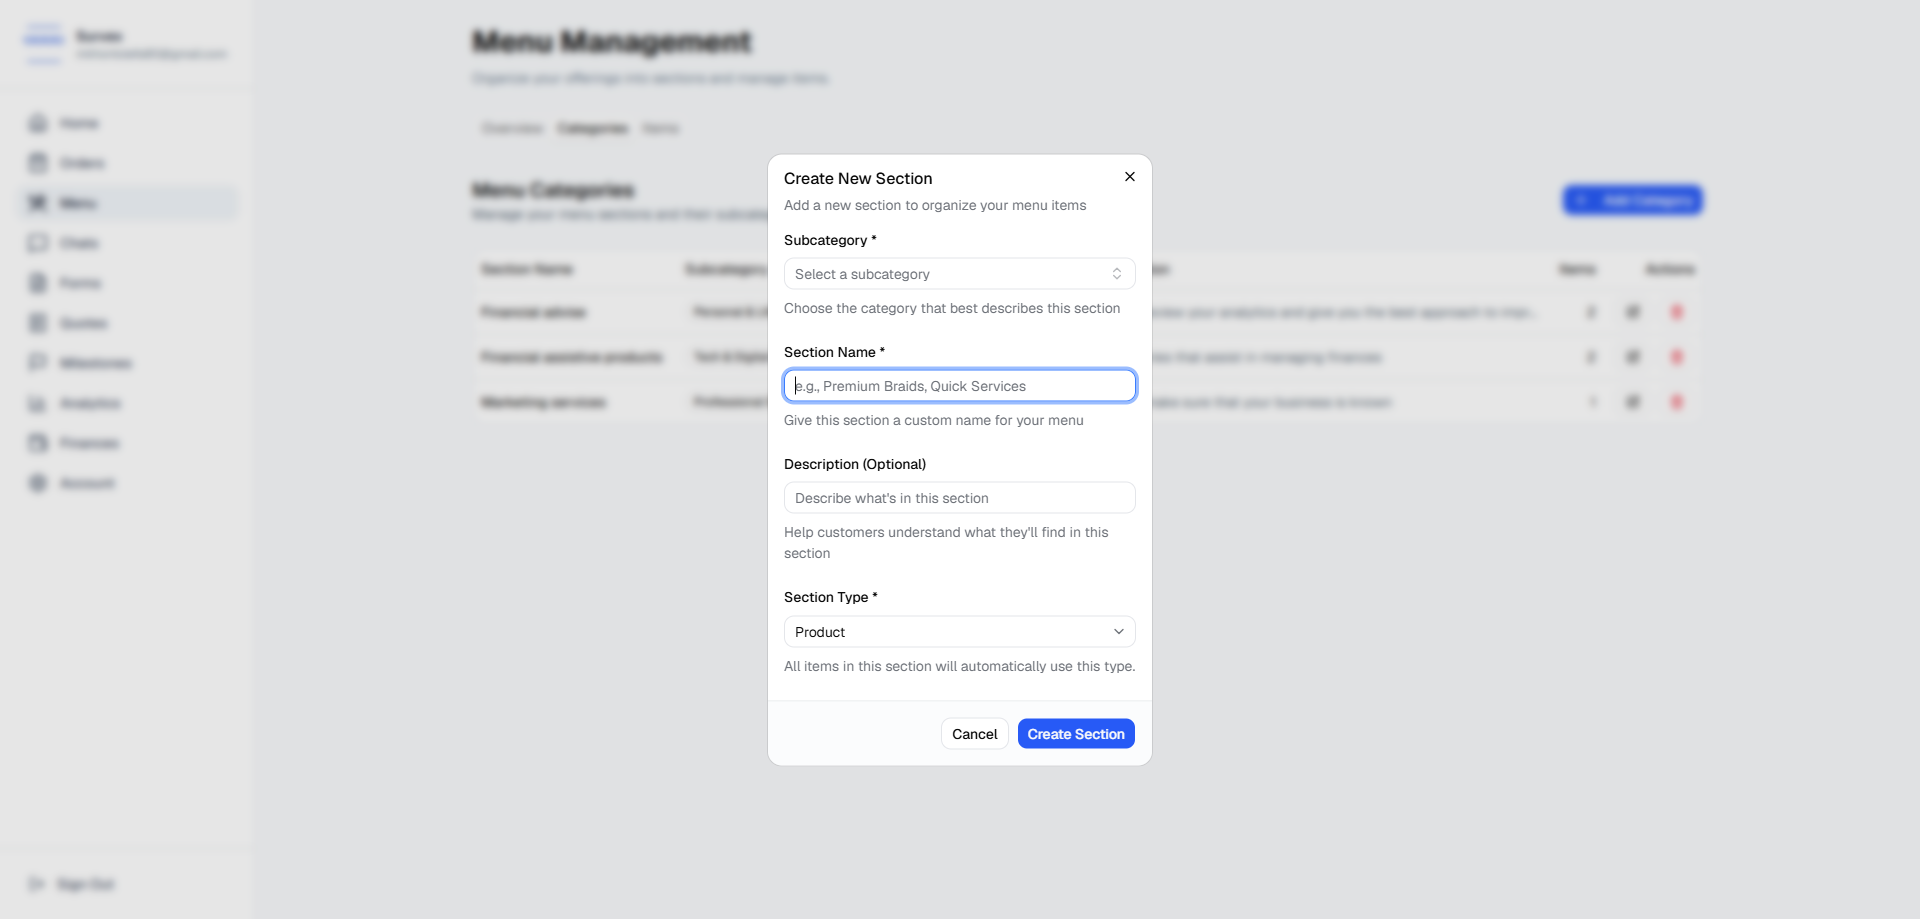
The new section form with Product selected. Each section can only hold one type — product or service. If you sell both, create separate sections for each.Add a listing to the section
With the section created, tap Add listing inside it. Fill in the listing details:
- Title — what buyers see in search results and on your storefront.
- Description — explain what the product is, what's included, and any relevant details.
- Price — the base price in ZAR. This is what buyers pay before any customisation adjustments.
- Images — upload at least one clear photo. The first image is the thumbnail shown in search results.
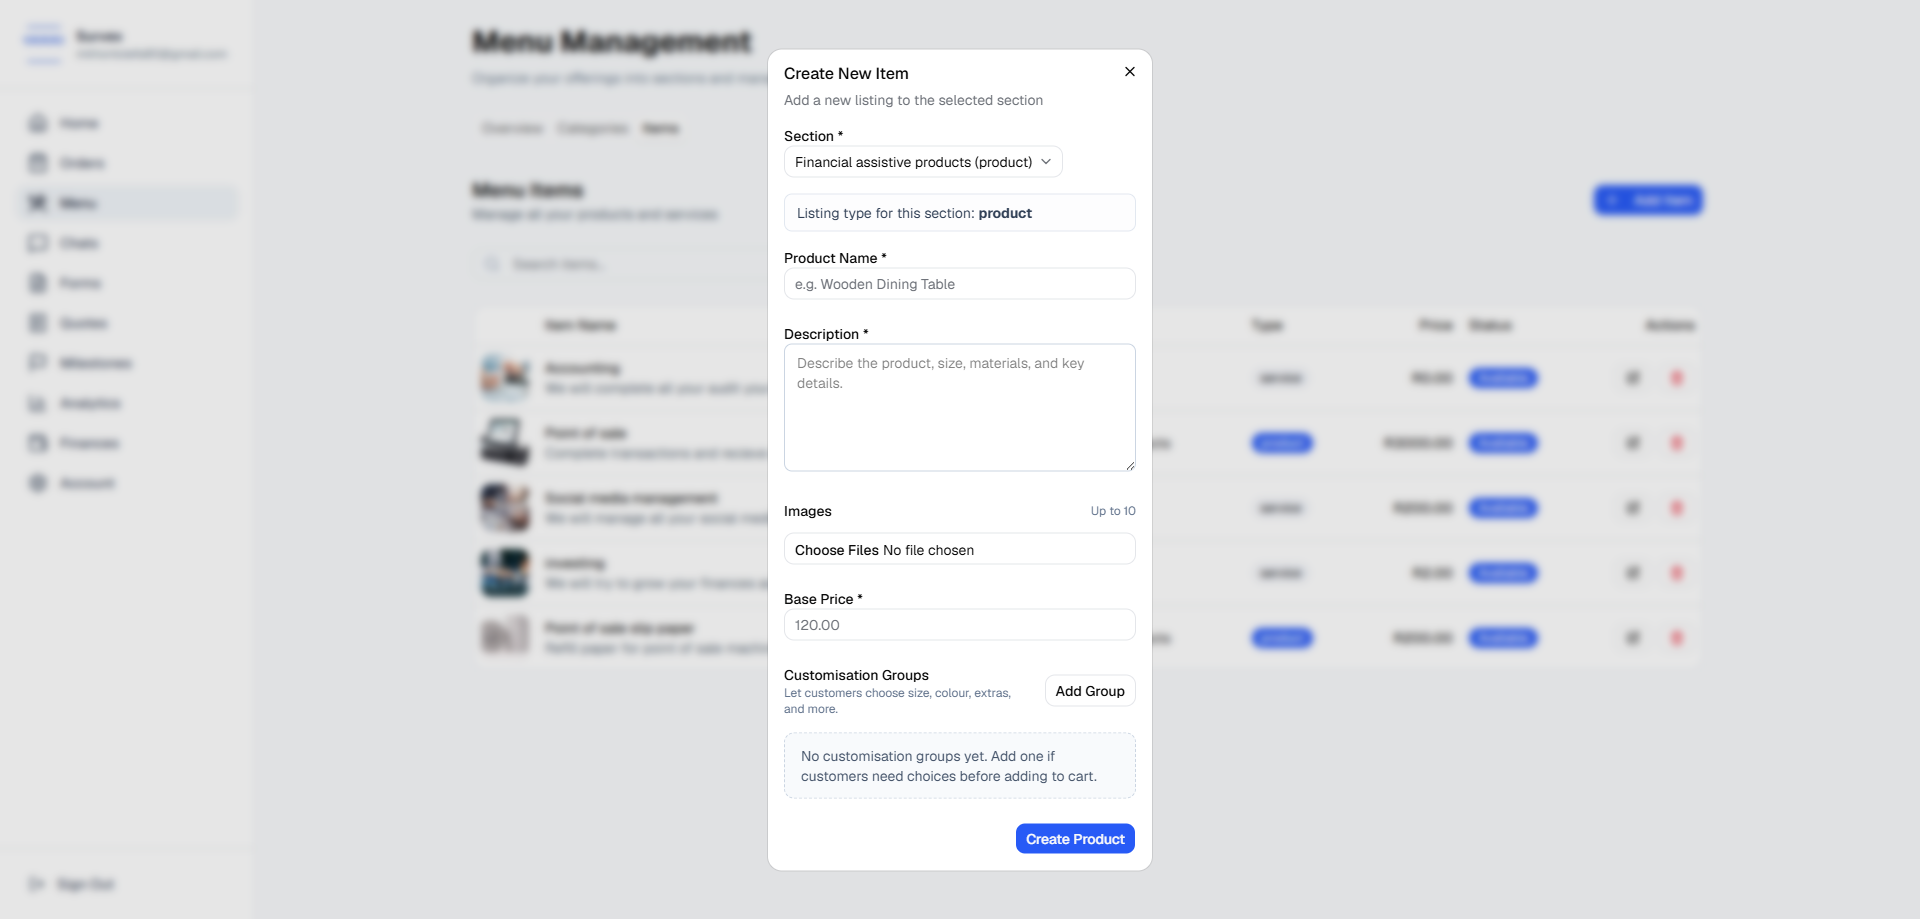
The listing form for a new product. Add customisation options (optional)
If your product comes in variations — sizes, colours, add-ons — use the Customisations section. Create a group (e.g. “Size”) and add options within it. Each option can carry a price adjustment: positive to add cost, negative to reduce it.
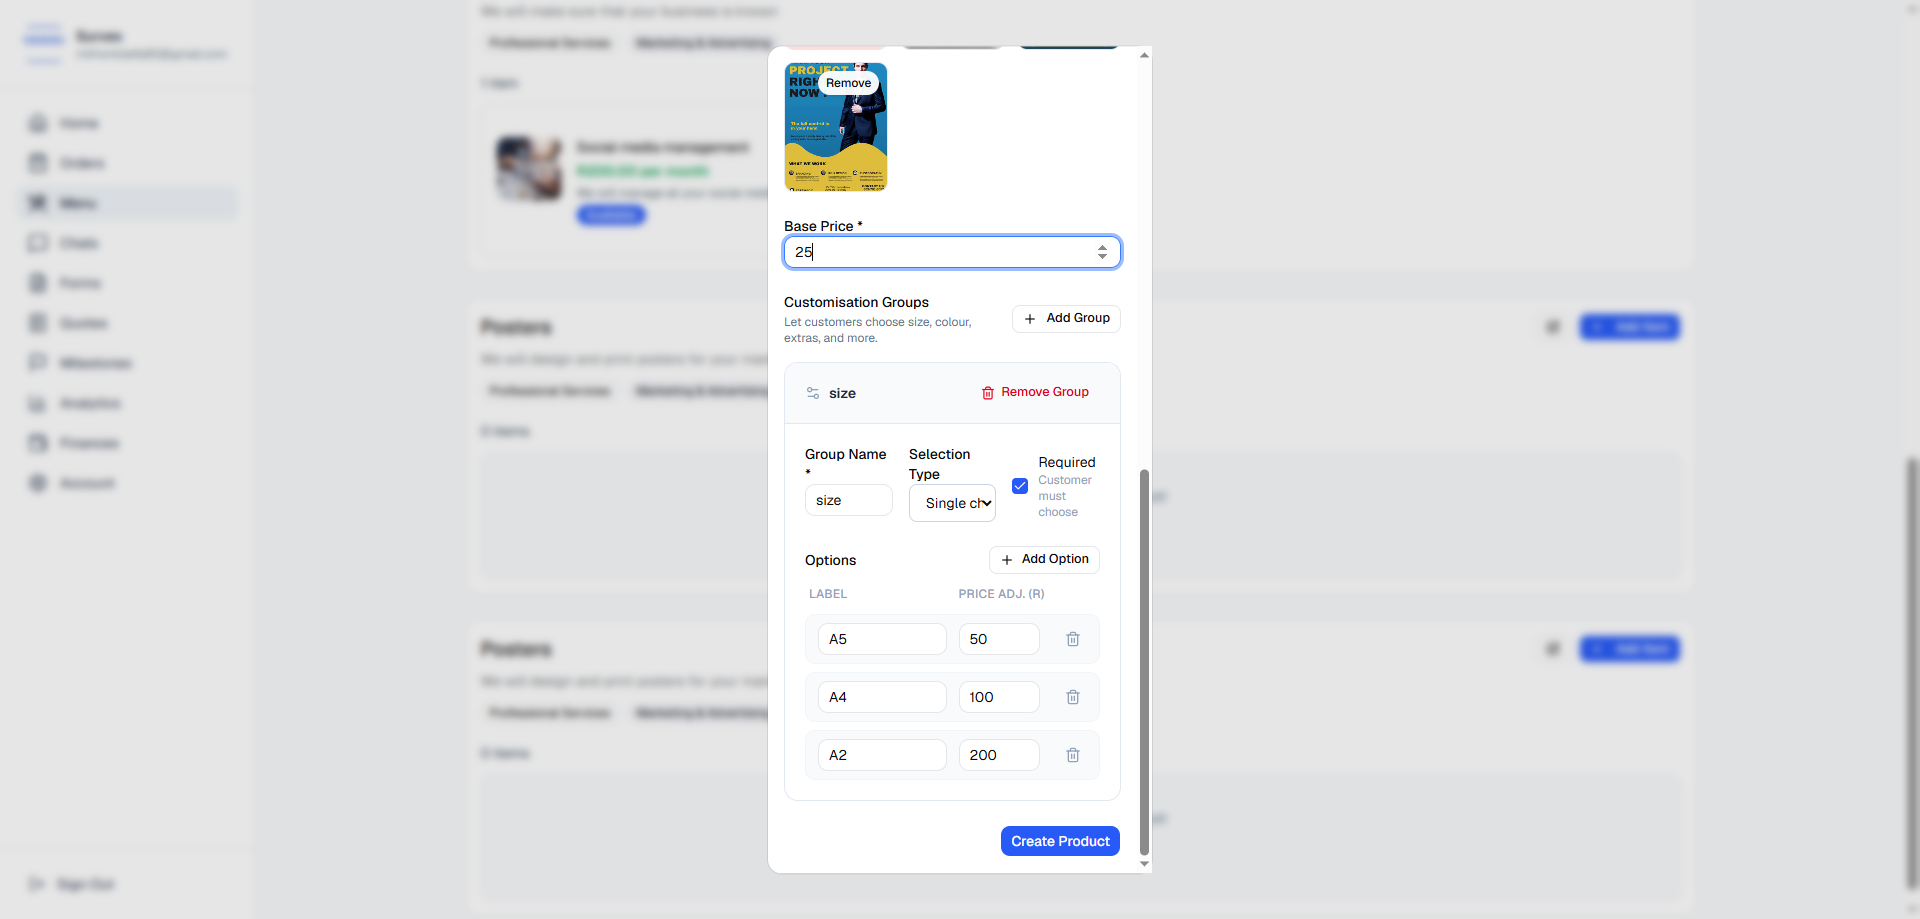
A customisation group with size options and price adjustments. Price adjustments are added on top of the base price at checkout, and re-validated server-side — so what the buyer pays always reflects the current listing price, even if they left items in their cart for a while.Publish and check your storefront
Toggle Available on and save. The listing is now live and searchable. Head to Menu to see it in your section, or open your storefront link to see how buyers see it.
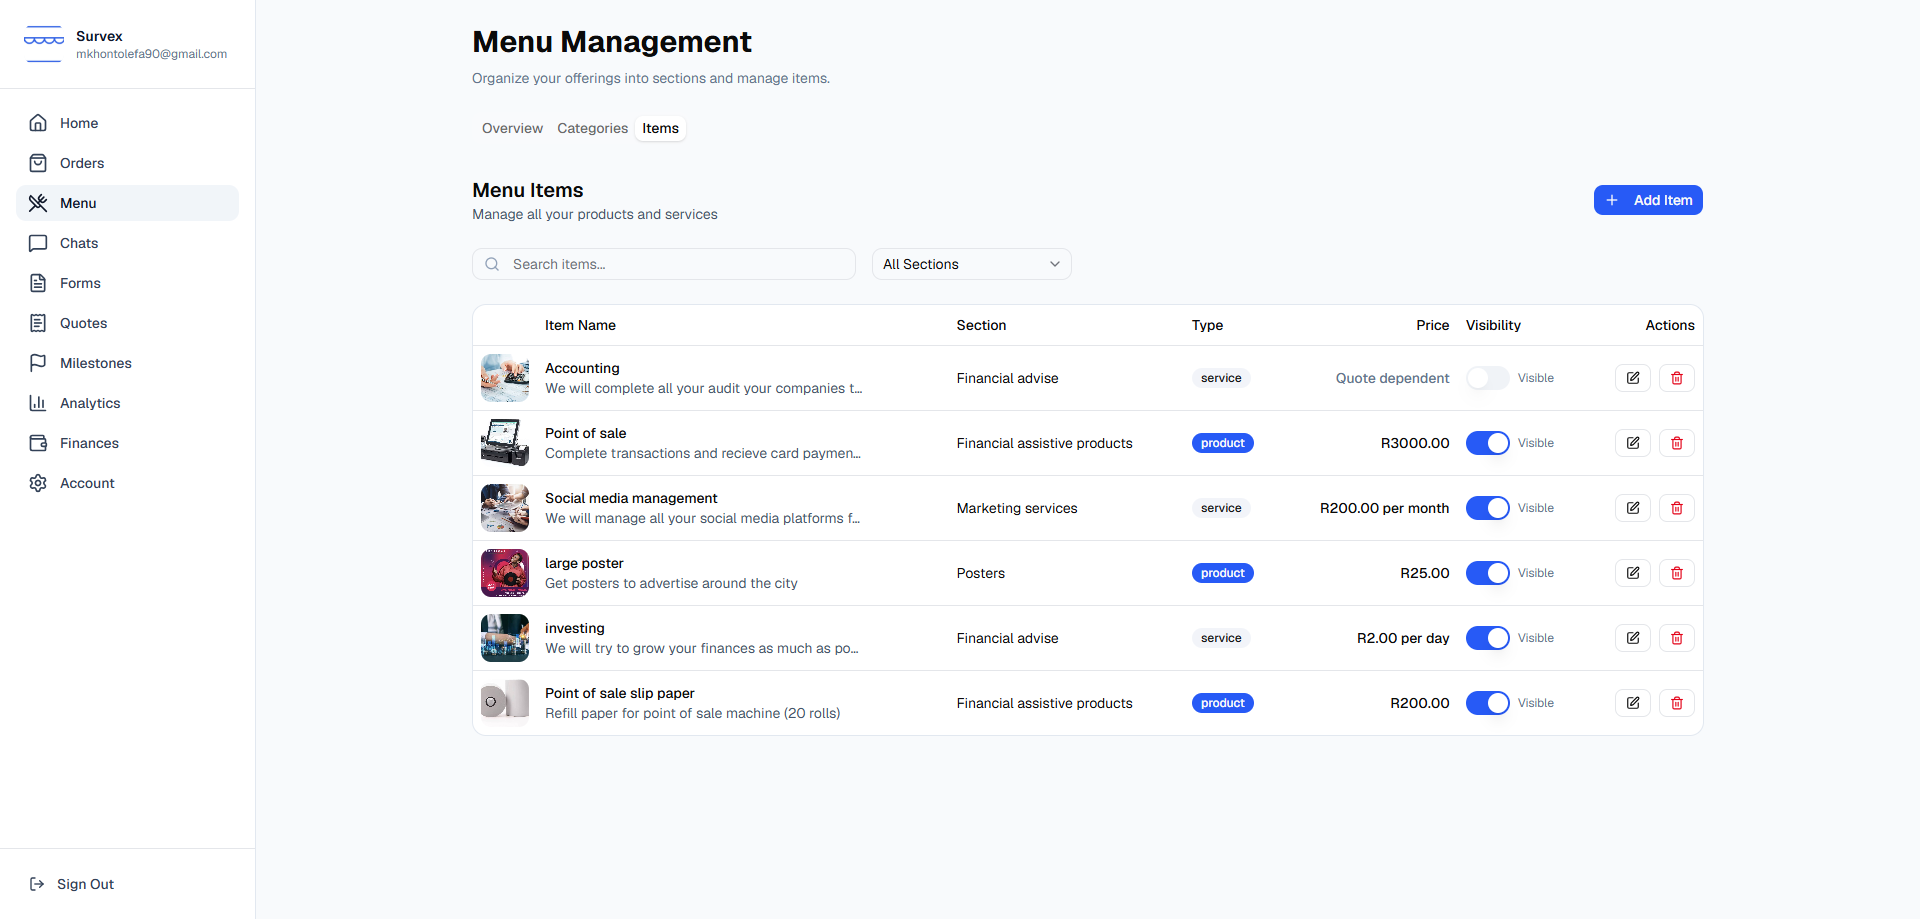
The Menu page showing a published product listing. Manage your catalogue
You can edit, reorder, or toggle availability on any listing at any time from Menu. Turning a listing off hides it from buyers but keeps all its details intact so you can re-enable it later.
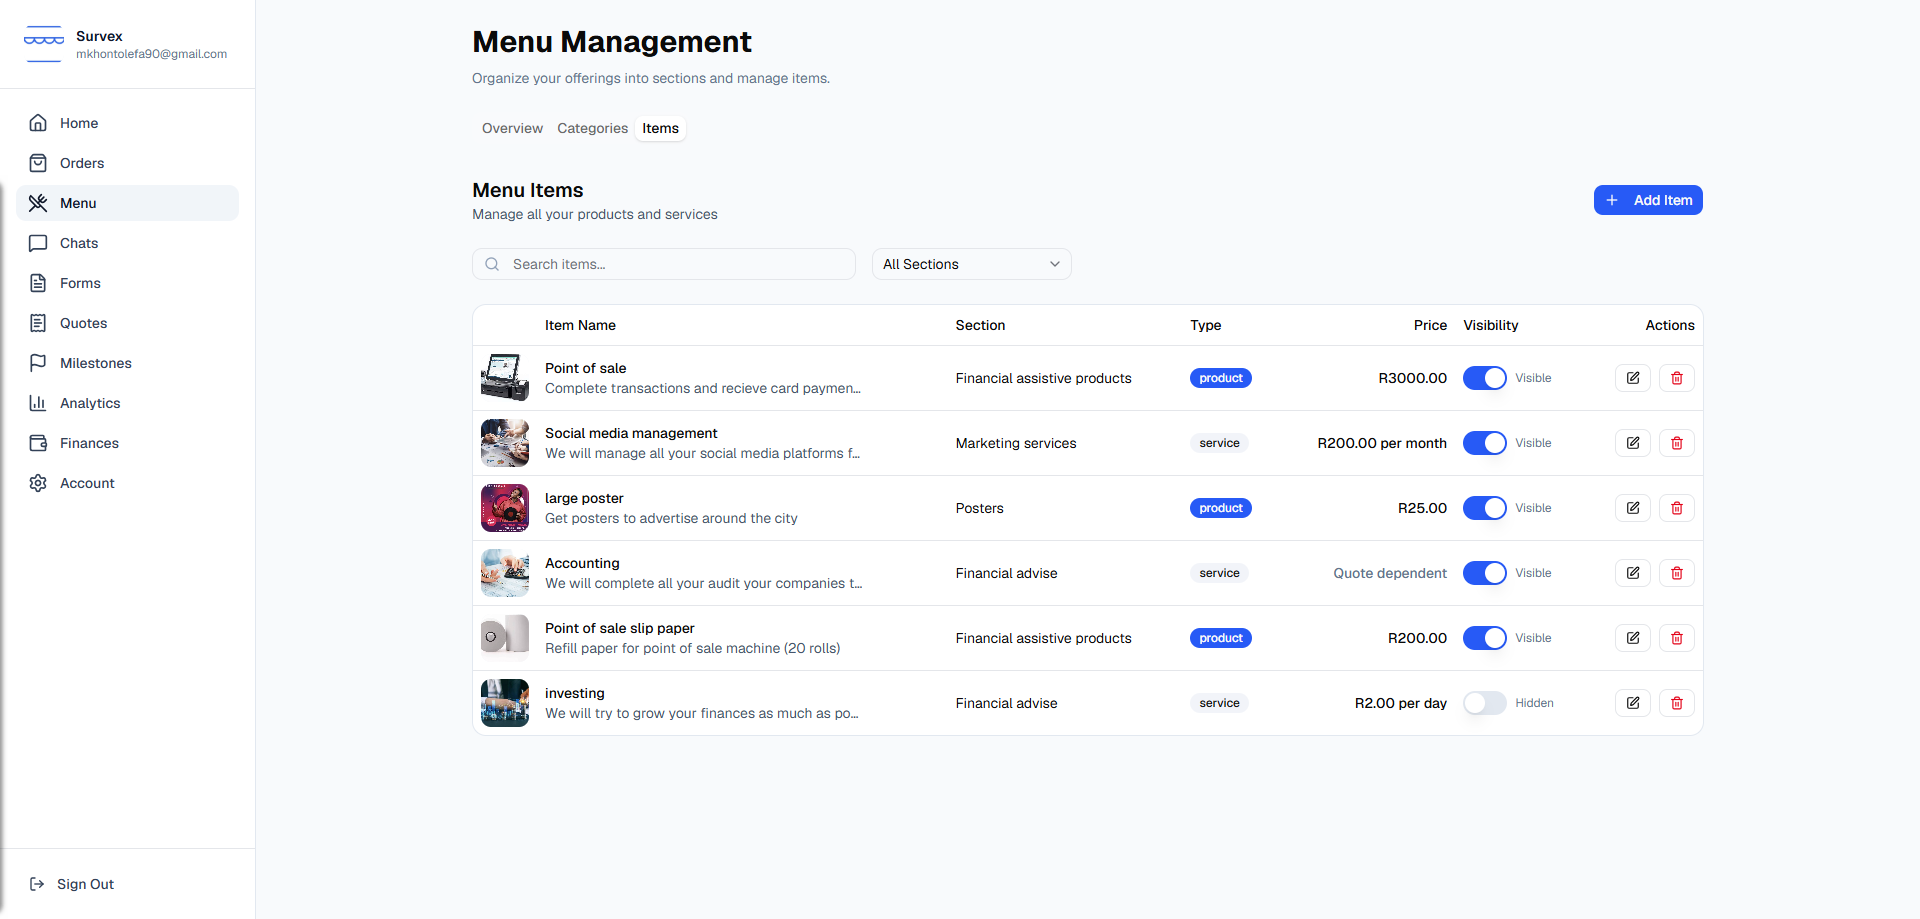
Managing listings — one is toggled off.